
If you have an unfinished basement that you're using for storage or not even using it at all, you may be missing out on a huge opportunity. You can turn this space into a laundry room, home office, gym, guest suite, home theatre, or entertainment hub—the options are endless. Besides making use of your extra space, owning a finished basement is an investment because it adds to your home's value.
Popular Ideas for Finishing a Basement
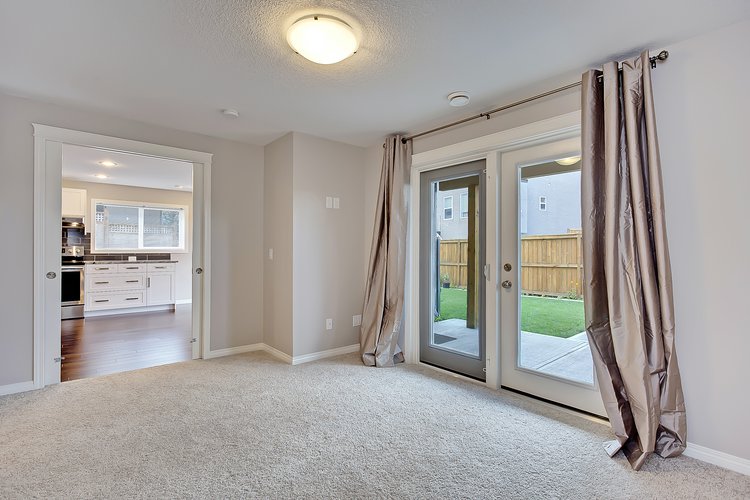
1. A Family Room

Turning your basement into a cozy family room is a good idea especially if your main living room is already occupied or cluttered. To make the room more welcoming and cozy, consider adding a TV or a projector, comfortable seating, and soft lighting. Also, add storage units to keep the room clean and organized.
2. A Home Gym

We know you love working out every morning, but in winter, waking up and driving to the gym can be a challenge. So, why not bring your gym to your own house? Building a gym in your basement helps you maintain a healthy lifestyle without the need to drive or pay pricey subscriptions. To make the space motivating and functional, consider adding shelves for weights, a mini fridge, a water dispenser, and a TV.
3. A Kids' Playroom
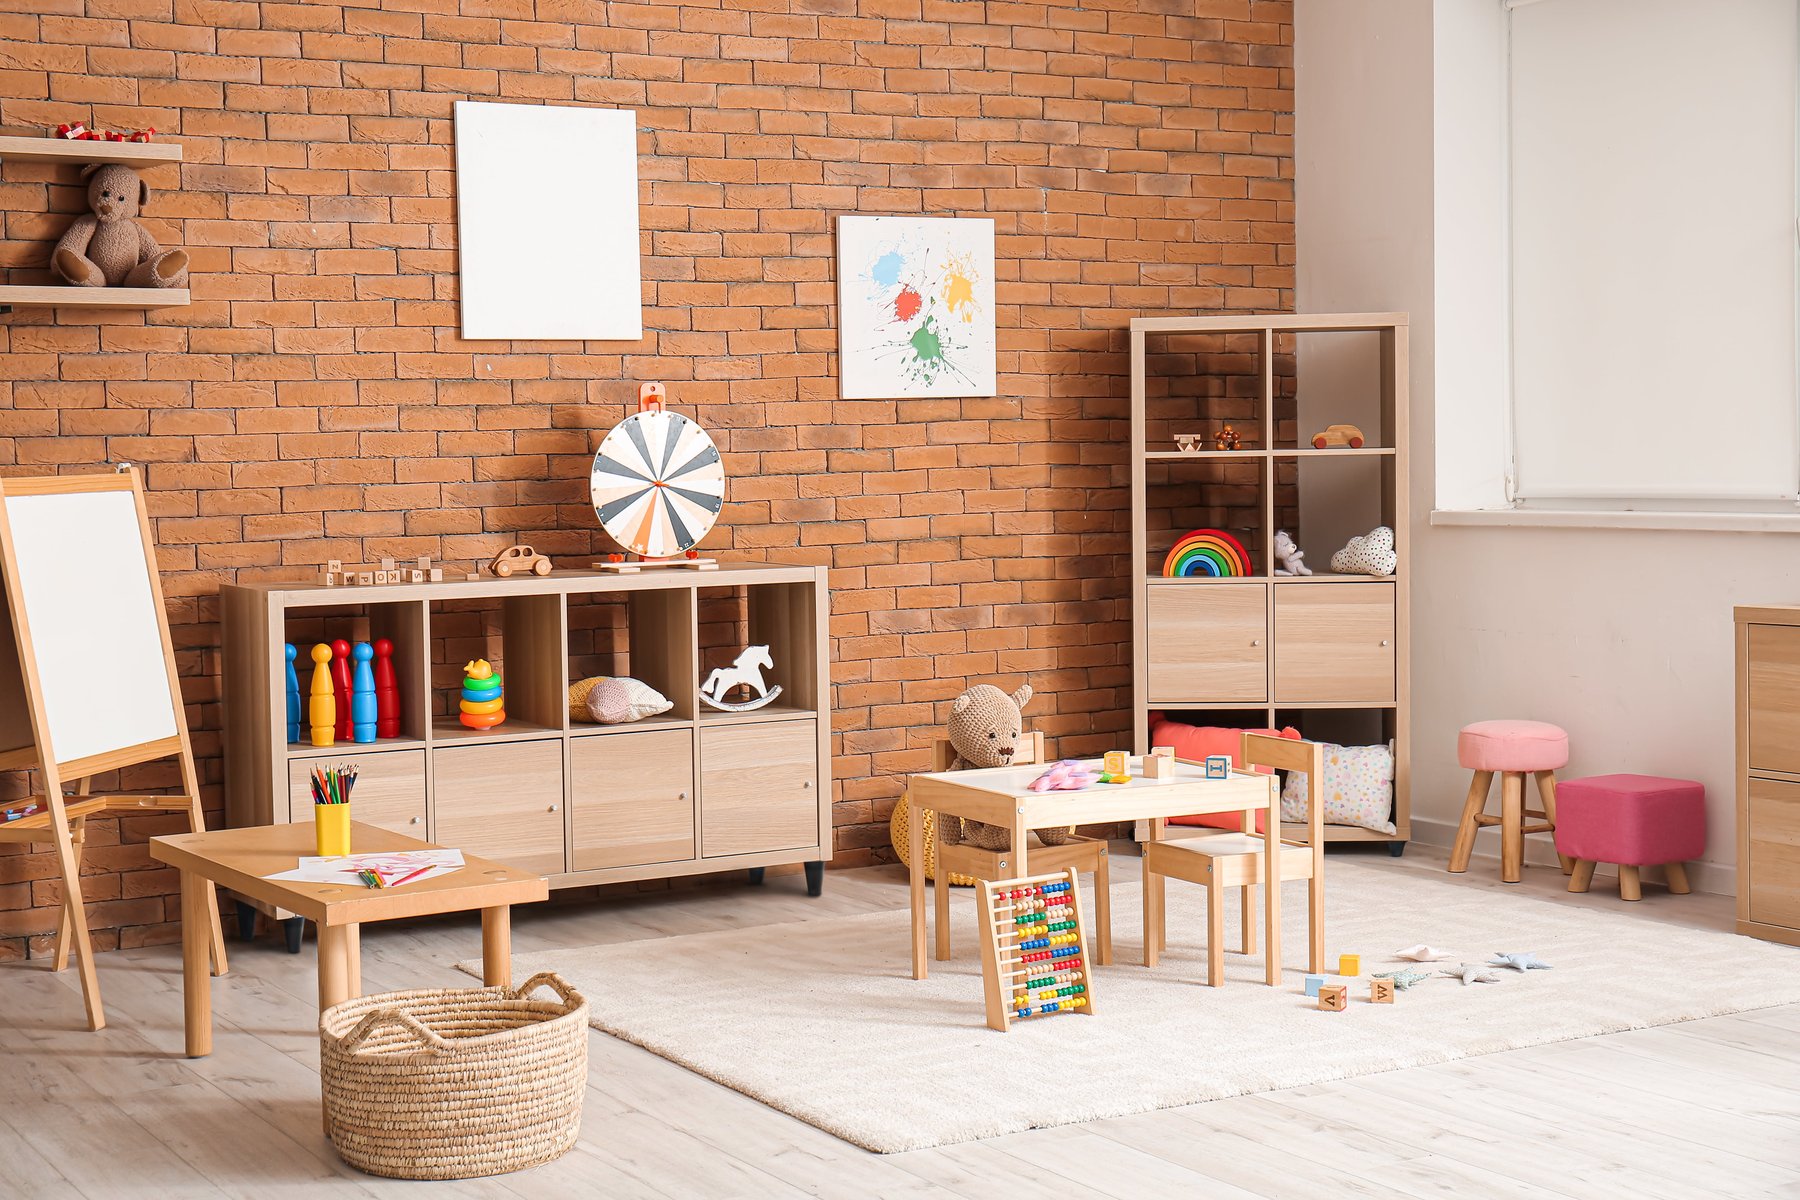
If you have a basement and you need a safe place where your kids can play without being so far from your eyesight, turn your basement into a playroom! A safe colourful playroom provides a creative environment for your kids where they can play, learn, and explore without cluttering the rest of the house. A good idea when building your kids' playroom is to involve them in the process, letting them choose the colours, furniture, and themes to make the room feel like their own special place.
4. A Home Theatre

If you love having your friends over for a movie night, or you like watching movies with your family, turning your basement into a home theatre is totally for you. Basements are naturally dark, which creates the perfect setting for a nice cinematic experience from the comfort of your home. To make the best use of your space, ensure you invest in a big TV or projector, sound system, comfy seating, and snack station. Also, don't forget to soundproof your walls to avoid any disturbances and keep the sound quality crisp.
5. A Home Office

If you're working from home and you need a place to focus without having to go out every day, renovating your basement into a home office is a smart solution. A dedicated home office helps you separate work from home life while giving you a quiet, distraction-free environment to stay productive. Some of the essentials you'll need to make your space functional include an ergonomic desk, a comfy chair, proper lighting, storage units, a coffee corner, and a relaxation space if you need to take a break.
What Is the First Thing You Do When Finishing a Basement?
The first thing you do before working on finishing a basement is to clean your basement, and then check for moisture issues, water damage, or structural damage. Fixing these issues first can prevent costly repairs later on and ensure a strong foundation for your project. You should also check your province's building codes to make sure you comply with regulations regarding basement insulation, ceiling height, and ventilation.
Hiring a professional for this phase will help you with:
- Check for moisture and leaks and identify any hidden issues.
- Finding and fixing cracks, holes, and structural damage.
- Ensuring your basement complies with your province's building codes and regulations.
- Suggesting the best materials and methods for insulating your basement.
What Are the Tools and Materials Needed to Finish a Basement?
You'll need these tools when finishing a basement:
- Safety Gear: Safety glasses, gloves, dust mask, earplugs
Measuring and Outlining Tools: Tape measure, level, speed square, chalk lines
Cutting Tools: Utility knife, circular saw
Fastening Tools: Hammer, nail gun, power drill, framing nailer, masonry drill
Installation Kits: Depending on the work, you may need insulation kits, flooring kits, drywall kits, and electrical wiring kits
Stepladder: You’ll need it to reach the high points of your basement walls and ceiling.
As for the materials, you'll need the following:
- Nails and Screws: Various sizes of nails and screws, masonry nails, flooring nails, drywall screws, concrete screws
- Framing: Galvanized metal studs, framing connectors, 2x6 boards to frame exterior walls
- Insulation: Polystyrene foam insulation boards or spray foam
- Drywall and Wall: Moisture-resistant drywall, drywall tape, construction adhesive, fine-grit sandpaper, joint compounds
- Ceiling: Drywall ceiling panels, ceiling tiles, or drop ceiling installation kit
- Flooring: Choose your basement floor material
- Electrical Wiring: Wiring, junction boxes, outlets, light fixtures, circuit breakers
- Plumbing: Sump pump, pipes, pipe fittings, drainage system
- Ventilation and HVAC: Ductwork extensions, vents, exhaust fans
- Paint and Finishes: Primer, mold-resistant paint, baseboards
Make sure you have good tools and high-quality materials before you start working on your basement.
How to Finish a Basement the Right Way
Step #1: Get Construction Permits
If your basement is being developed for the first time or if you're making structural changes, then you'll need a building permit to ensure your basement meets local building codes. You might also need planning approval, an electrical permit, and a plumbing permit. Getting a permit is essential because you'll need it when you try to sell your home.
Step #2: Complete Utility Work
You should complete plumbing, electrical wiring, and HVAC installations before working on insulation and drywall installation. This phase isn't suitable to be a DIY project because it requires technical expertise, compliance with local building codes, and professional inspections. A single mistake in this step can cause serious safety hazards, expensive repairs, and long-term damage.
Step #3: Insulate Your Basement
Insulating your basement is an important step because it'll allow you to save on heating bills, prevent excess moisture build-up, and reduce the risk of mould growth. You can choose between different types of insulation methods, such as rigid foam insulation, spray foam, or fibreglass batts. Each type of solution offers specific benefits, so it's better to consult with an experienced contractor to determine which insulation solution is suitable for your basement.
Before installing insulation, we recommend installing a vapour barrier to your foundation walls to protect from potential water damage and leaks.
Before moving to the next step, make sure all the cracks are sealed and that you've installed proper drainage to prevent future water damage.
Step #4: Frame Basement Walls
Once you've finished utility work and insulation, now it's time to frame basement walls:
- Plan the layout of your basement, keeping in mind the room size and placement of the basement windows and doors.
- Before you start building your walls, cut your treated lumber or metal studs to the correct length. Wear your goggles, earplugs, and dust mask before beginning the process.
- For the walls that are parallel to the floor joists, install blocking between joists to create a secure anchor point for the top plate.
- Secure the pressure-treated bottom plate to the concrete floor using masonry anchors or concrete screws.
- Attach the top plate to the ceiling joists and secure them.
- Construct the wall on the floor and space the vertical studs evenly (typically every 16 inches), then secure them to the top and bottom plates using a framing nailer. Use a level to ensure the wall is straight before securing it. Adjust as needed to keep everything properly aligned.
- Install headers above any doors or windows for additional support and ensure that the rough openings meet standard measurements for doors and windows.
- Use a level and square to ensure that walls are straight, corners are aligned, and all connections are secure before moving on to the next phase.
Step #5: Install Basement Ceiling
After framing walls, you can either choose to install a ceiling for a more finished look or paint over the pipes. For basement ceiling installation, follow the steps below:
- Consult with an expert to choose the suitable ceiling type: drywall ceiling, drop ceiling, or acoustic tiles.
- If you choose to install a drop ceiling, you'll have more access to the electrical or plumbing systems located above the ceiling. To install it, you will need an installation kit and everything will be explained in it by the manufacturer.
- If you opt for a drywall ceiling, lift and attach the panels to the ceiling joists using a drywall jack.
- Mark and cut all openings needed for vents, lighting, and electrical.
- Cover any seams or screw holes with drywall tape to create a smooth finish.
- Sand and prime the ceiling to prepare it for the next step.
Step #6: Install Drywall
After your wall framing is complete, it's time to install drywall to enclose the space. This process includes a lot of measuring and cutting; all measurements must be accurate to avoid wasting materials and ensure a seamless fit. You can also contact us to help you with the following steps:
- Determine if you want to hang your drywall vertically or horizontally, most homes hang it horizontally, but your decision will mainly depend on the measurements of your basement.
- Use tape and a ruler to measure and mark the openings for outlets, valves, windows, and doors into the drywall sheet. Ensure you mark them accurately so the wall fits perfectly.
- Place the drywall against
- Cut your drywall sheets to the desired size using a drywall saw, and hold the panels against the wall studs, to ensure everything is positioned correctly before cutting your openings.
- Cut the openings you've marked previously, then secure the drywall panels to the wall studs. Use drywall screws and place them 12 to 16 inches apart along the framing to ensure a firm hold.
- Fill seams between rows to make finishing easier, apply drywall tape, and use a drywall knife to smooth out any bubbles.
- Apply joint compound over the tape and wait till it completely dries. Apply again and repeat if needed.
- Once the joint compound dries completely, smooth out the surface using fine-grit sandpaper.
- Prime your drywall and now you're ready for the next step!
Step #7: Build Subfloor
Although you can install your floor directly onto the concrete floor, we recommend building a new moisture-resistant subfloor for better results.
To build a new subfloor, follow these steps:
- Use a self-levelling compound to fill dips deeper than 3/16 of an inch.
- Once that’s dry, check for holes or uneven spots and add another layer of compound if needed.
- Glue polystyrene insulation sheets directly to the concrete floor.
- Add plywood sheets to the insulation layer to create a smooth surface.
- Screw the plywood sheets into the concrete floor with masonry drill and concrete screws.
A properly levelled and installed subfloor is key to durability and comfort. Our team at Basement Builders can install your subfloor for you and save you from costly repairs and flooring issues.
Step #8: Finish Your Basement Floor
Now that you have a moisture-resistant subfloor, it’s time to install basement flooring:
- Choose your floor based on your preference and your approach to basement renovation. For best results, use tile or vinyl flooring as they are most reliable in moisture-prone areas.
- Follow the installation instructions that come with the flooring you buy or consider hiring a professional for this step.
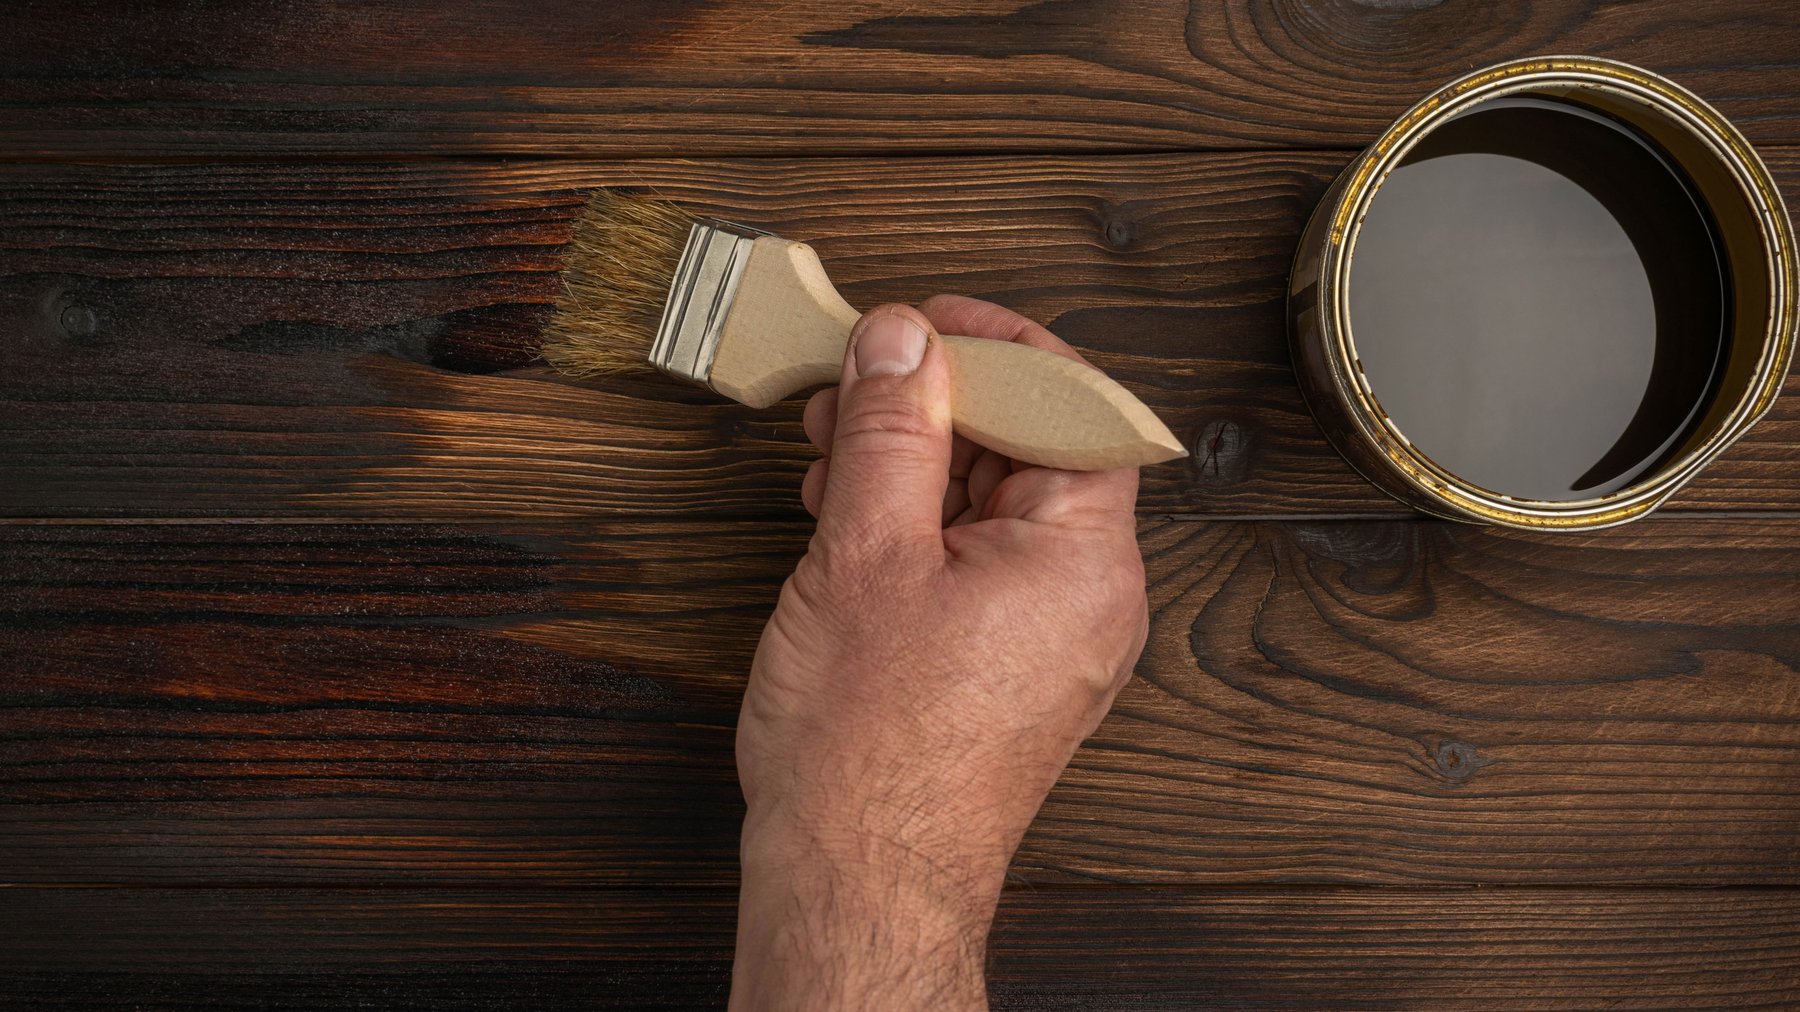
Step #9: Paint and Add Final Touches
- Paint your basement with high-quality paint.
- Choose lighting that suits your space and the mood you're going for. You have many options to choose from, including but not limited to recessed lights, track lighting, or pendant lights.
Step #10: Clean Up and Decorate
Now that you've successfully transformed your basement into a new room, you can clean up, ensure proper ventilation, and schedule an appointment with a building inspector to ensure compliance with building codes. Decorate your basement based on how you want to use it. You can use your finished basement as:
- A Laundry Room
- A Home Office
- A Home Theatre
- A Gym
- A Game Room
- Or basically, anything you want, the place is yours!
Why Hire a Professional for Basement Renovation?
Basement renovation seems like a fun process and it can be an exciting transformation for your home. However, some steps require expertise and knowledge of building codes to do it safely and efficiently. Moreover, mistakes in stages like insulation, wiring or framing can lead to moisture issues, structural problems and costly repairs.
Some tasks can be DIY-friendly but critical steps like electrical, plumbing and moisture control should always be done by professionals to ensure a safe and durable basement remodel. Contact our experts today for the best basement finishing in Calgary.
Discover Basement Development Costs in Calgary today with Basement builders and start remodelling your basement!
What Is the Hardest Part of Finishing a Basement?
The most common challenges when finishing a basement are:
- Moisture Issues: If your basement has leaks, water damage, or moisture problems, you should fix them before you remodel your basement. If you ignore this part, you'll lose a lot of money to fix them after your basement is furnished.
- Low-Hanging Pipes: Low-hanging pipes and misplaced pipes can be difficult to build around, so you may need to remove them and place them where they fit better.
- Egress Windows: Egress windows are mandatory according to local building codes. A lot of people forget about them, which causes compliance issues later on.
- Support Columns: Your basement has columns to support the rest of your house. Although they may not look stylish, they are an essential part of your house foundation. You can try to decorate them so they can align with your vision.
Other issues can include cracks in the foundation, low ceilings, and air circulation issues. Fixing these issues is considered the hardest part of finishing a basement, but it's very significant for all the other steps that come afterwards.
What is the Basement Finishing Cost?
The cost of finishing a basement ranges between $30 to $75 per square foot for a professional finish. However, these numbers are estimates and the actual costs are determined based on factors like size, materials, and additional features.
For example, a homeowner in Calgary can be between $30,000 and $75,000 for renovating a 1,000-square-foot basement from scratch.
Although a DIY basement remodel may seem like a cost-effective option, investing in professional help guarantees a safe and energy-efficient finished basement.
Get the best Basement Renovations in Calgary today with our various services!
What Is the Most Expensive Part of Finishing a Basement?
The most expensive part of finishing a basement is utility work, costing $5,000–$15,000 for plumbing, $3,000–$10,000 for electrical, and $2,500–$8,000 for HVAC. Other expensive phases include framing, drywall, and insulation averaging $5,000–$12,000, and flooring for $1,500–$6,000. Hiring professional contractors for these parts prevents wasting material, compliance with local building codes, and efficient finish.
Best Finishing Basement Contractors in Calgary
At Basement Builders, we offer the best basement remodelling services in Calgary and across Canada. Check what our clients say about their experience with us on Basement Builders Reviews and see why homeowners trust us for their basement finishing projects. Our expert team ensures high-quality craftsmanship, zero delays, and a convenient experience from start to finish.
FAQs
the most common Questions about the steps of finishing the basement:
How much to finish a basement in Calgary?
Finishing a basement in Calgary can cost anywhere from $30 to $75 per square foot, depending on factors like design, materials, and the labour required. The cost varies based on the extent of the renovation, the amount of fixes needed before starting, and any special features you want to add. On average, for a 1,000-square-foot basement, you can expect to pay between $30,000 and $75,000.
How long does it take to finish a 1000 sq ft basement?
It'd take around 4 to 8 weeks to finish a basement, depending on the complexity of work, the permits needed, and project delays. It might even take longer if you're doing it all by yourself, so we recommend hiring an expert to help you finish your basement efficiently and ensure the job is done right.
What is the cheapest way to finish a basement floor?
Keeping your concrete floor as it is the cheapest way to finish your basement floor. However, it might need some refinishing to make it more comfortable and visually appealing. You can also paint it or seal it to make it fit your space. Other affordable options might include carpet tiles, epoxy coating, and sheet vinyl flooring.